
How to touch up damage on a playfield using an airbrush and protect with new clearcoat
I'm restoring a Williams Indiana Jones pinball machine. The playfield is very nice, except for one weird, dirty spot
in front of the right slingshot. There are several black lines in the yellow paint. I tried to polish and buff them out,
without success.
They are similar to the dirt in hairline cracks that you see on many older (non-clearcoated) playfields.
It's the first time I see this kind of hairline cracks and dirt on a Diamondplated playfield.
I even tried to remove them using a Magic Eraser sponge, without success. And even if this would have worked, the cracks
would have stayed and gathered dirt again in the future. It wouldn't have been a permanent solution.
As it's in a very prominent spot, I really wanted to repair this damage. The only solution would be to repaint the damage
and clearcoat it again. It's not something for the faint of heart - a repair in a spot that's in the middle of the playfield.
Touchups in hidden areas of the playfield are usually no problem, as they are not too obvious. But this damage was in the center
area of the lower playfield, a part that a player looks at almost all of the time. So I had to be sure I could repair this
damage and make it look (almost) perfect again. An obvious repaint would stick out even more than the damage there was.
I was pretty confident I could pull this off. The damage was only in the yellow area. It was a solid color (no gradients), I didn't have to repaint a lot of details. All I had to do is find a good match for the paint and make sure the clearcoat on top of it would be smooth again (which I had done before on a small touchup on my Whitewater pinball machine).
I have a lot of Tamiya acrylic paints, almost every color they have. I noticed before they often are a very good match to
the colors used by Williams on their playfields. So it was not really a surprise to me to see that their yellow paint was
almost an exact match !
I painted a small spot on top of the playfield and it looked great.
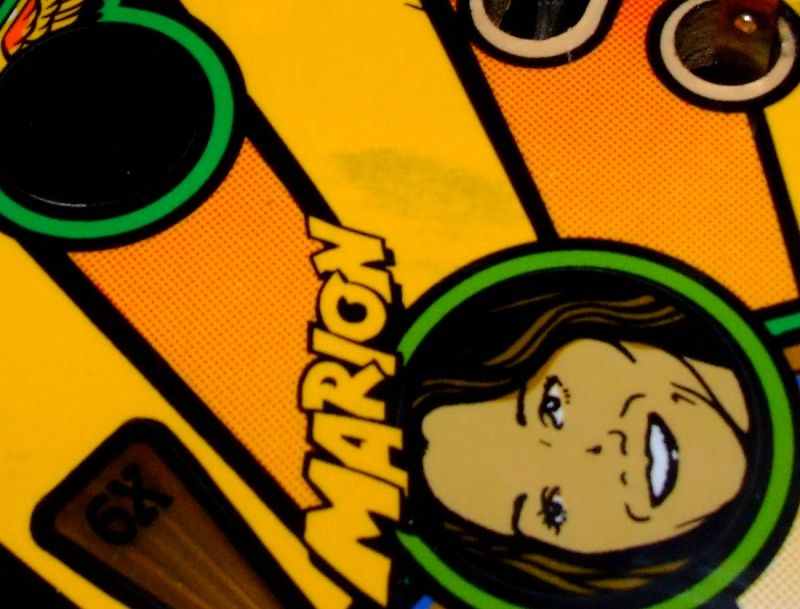
Here's a view of the damage. Hairline cracks in front of the right slingshot, filled with black dirt which wouldn't get out.
This was after cleaning this area thorough, originally it was even more ugly and obvious.
Most people try to do touch-ups by painting straight on top of damage. The problem with this is that you paint on top of the clearcoat, adding a new layer of paint. Even if you get a perfect match of the color, the repaint may still look obvious because of the height difference as it will reflect paint different (especially when seen from a low angle you will notice repairs like this). Paint on top of clearcoat will wear fast - but an additional clearcoat layer will make the repair even more thick.
So the only good solution, and how professionals that do playfield restorations do it - is to sand away the clearcoat and paint until you're on the wood itself. Then add a thin layer of paint and clearcoat until it's perfectly level with the original clearcoat. That way the playfield is smooth, the repair is hidden and protected.

I started by taping off the area I didn't want to damage. Especially the black lines around the yellow area I did not want to touch up.
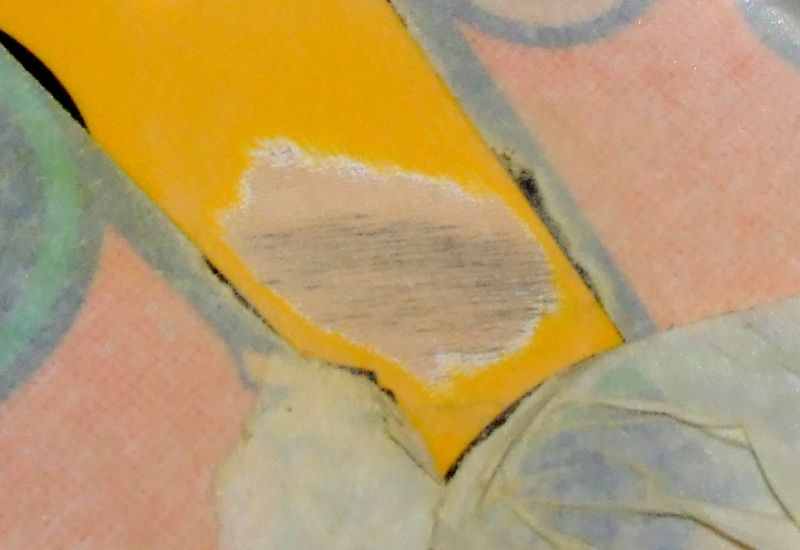
Time to sand the paint away.. I was a bit nervous at this point, there was no turning back now..
I don't remember exactly what grit sandpaper I used, I think 1200 (used dry). It didn't take long to remove the paint and
clearcoat !
Now you see well how the black dirt really goes down through the paint and is even into the wood itself.
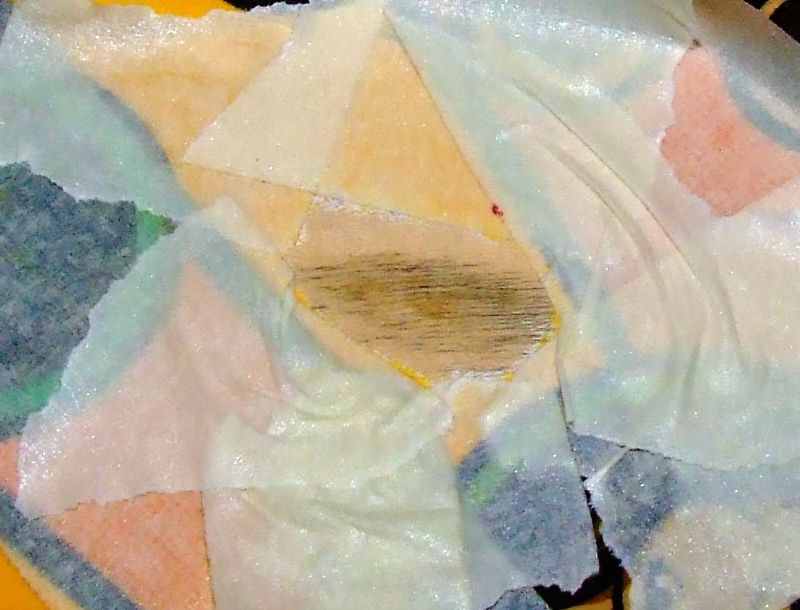
I first wanted to put a base coat of paint down onto the bare wood, to make sure the black dirt wouldn't come up later through the paint. I chose white. So I taped off carefully the edges of what was sanded away.
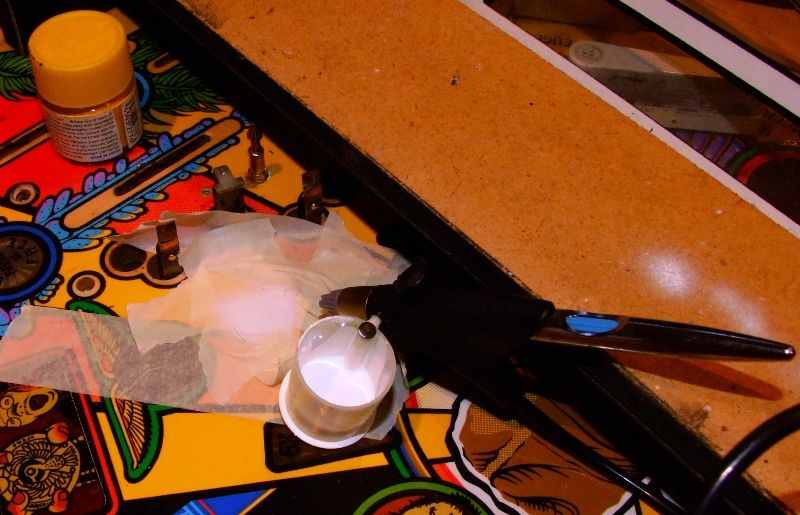
Time to take my airbrush.. I painted a thin layer of white paint. Let it dry, put another thin layer on top of it.
The advantage of using an airbrush is that you can spray very thin layers of paint. A paintbrush could also be used if you don't
have an airbrush, but then you have to be careful not to leave streaks or make the paint too thick.
The final goal is to have layers of paint still thinner than the original paint and clearcoat layer, so your repair does not stick out
and you can the top clearcoat sand it until it's level with the rest of the playfield.
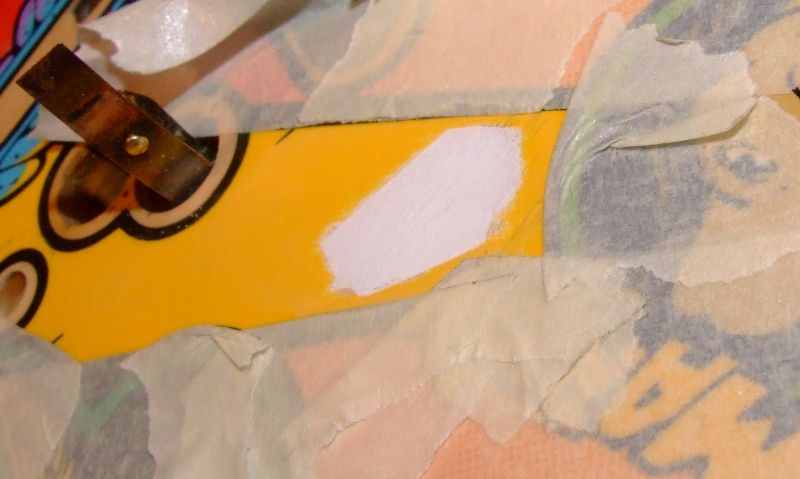
Here's the white coat painted. In the end white was not a good choice I made. I noticed this later after the touchup. Although the yellow color was a perfect match, the white base coat makes my touchup look a bit brighter than the surrounding area. I should have chosen either a neutral grey color, or yellow as base coat.
I didn't take pictures of the next steps. Don't think you're done by just airbrushing a yellow coat of paint over this base layer !
But yes, the next step was airbrushing a yellow layer of paint. I let the first one dry and then added another thin layer.
Now I had the color matched, it was time to protect and level it. This I did using clearcoat. Again using Tamiya acrylics,
they sell a bottle 'clear'. It's a clearcoat which I love to use for pinball playfield touchups. It's strong enough and doesn't crack.
So I added a a few layers of clear on top of my touchups. Add layers of clearcoat layer until it eventually becomes just a little bit
thicker than the rest of the playfield.
Once that clearcoat had time to dry (a day), I sanded it level with the rest of the playfield.
For this I used 2000 grit sandpaper, wet. Do not sand it holding it in your hand, because that way it is impossible
to get it perfect level. Use a sanding block - a flat piece of wood that's just a bit larger than the repainted area.
Make sure you keep the sandpaper wet enough and start sanding. Using the sanding block you can get the clearcoat very smooth and
perfectly level with the rest of the playfield. Often check you're not sanding too much, you do not want to sand away the original clearcoat
around your repair.

Here is the final result. The yellow paint over the white basecoat is a little bit brighter than the rest.
You really have to know this spot has been repainted or you will not notice it at all. It definitely looks much better
than the original black damage ! Because the clearcoat is smooth again, the touch-up is protected against damage from pinballs
and unnoticeable when you look from a low angle.
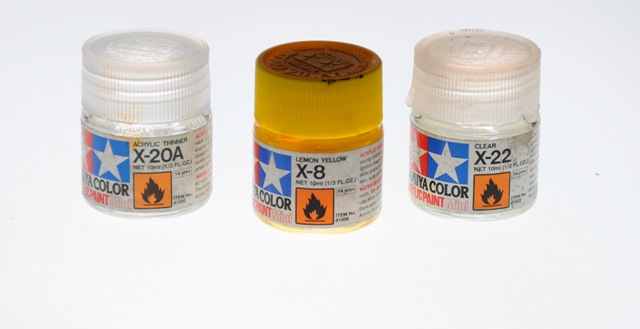
Here are the Tamiya acrylic paints used:
X-8 Lemon yellow
X-22 Clear : this clear is used for as clearcoat, this gives your protection against wear and is what you polish to a shine
X-20A acrylic thinner: required when using the yellow paint in an airbrush
If you're looking for pinball parts, then check out Pinballshop.nl (affiliate link).