
How to restore melted ramps from flamepolishing
Article by P. van Leijen.
The author of this article (and this website) cannot be held responsible for any damage resulting from the use of these instructions. Proceed at your own risk!
Flame polishing is a valuable skill that can make a ramp look almost brand new. However, like any skill, it requires practice, and it comes with risks. Sometimes flame polishing goes wrong, and the results can be disastrous, especially if the ramp is expensive or no longer available for purchase.
I've flame polished several ramps and have gathered a lot of information from articles, videos, and online resources. One major risk is that heat remains in the plastic even after the torch is removed, which means the ramp can still melt or deform if you're not careful.
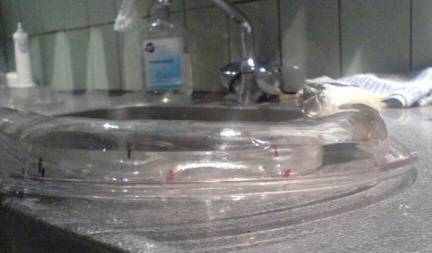
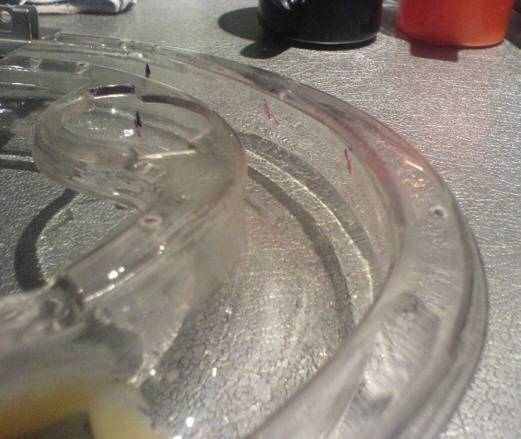
When I flame polished the long Skyway ramp of my Whirlwind pinball machine, I apparently held the torch on the plastic a bit too long. In one of the tight bends, the plastic deformed and developed some bumps. While I was working, everything seemed fine, but once the ramp cooled down, the damage became visible. You can see this in the photo below.
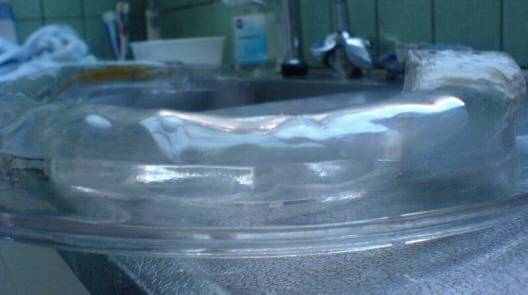
Since a reproduction ramp is quite expensive, especially compared to the overall value of the game, and I prefer repairing things myself rather than buying replacements, I wanted to find a way to fix the damage and make the ramp usable again.
After a few days of thinking, I realized there had to be a way to reheat and reshape the plastic—if only I had a mold. My girlfriend suggested using artist’s clay. I gave it a try, and the instructions are below.
Parts Needed
- Plenty of workspace
- Clean water and soft cotton cloth
- Fine, self-drying artist’s clay
- Clear plastic foil
- Torch
- Sharpie
- Reference photos of the original ramp shape
Preparation
Clean the ramp thoroughly.
Select sections of about 5 to 10 cm (2–4 inches) to work on at a time.
Cover the inside of the ramp with plastic foil so the clay can be removed easily.
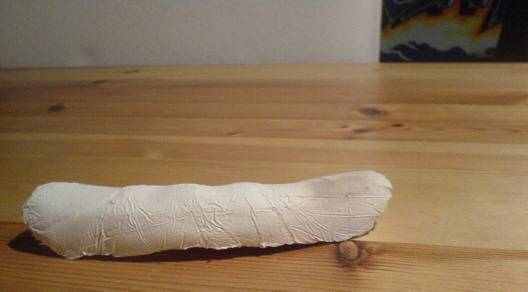
Take a piece of clay, add enough water, and knead it until it’s soft and smooth, roughly matching the shape of the ramp.
Press the clay into the ramp (with the plastic foil underneath), making sure it fills the space completely and takes on the ramp’s shape.
Let the clay sit and begin to harden for a few minutes—exact time depends on the type of clay.
Carefully remove the clay. This can be tricky in curved sections. Make sure the shape remains intact.
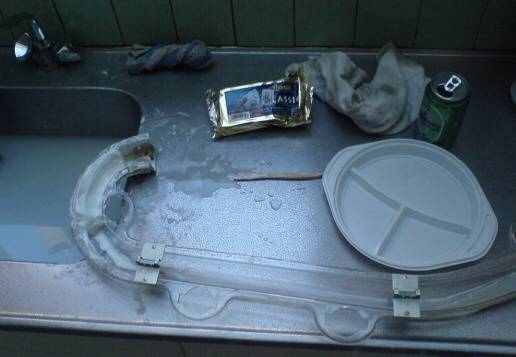
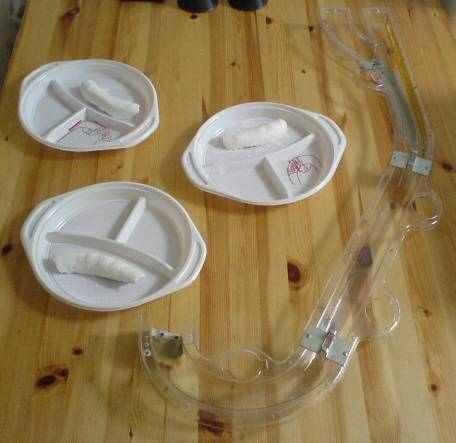
If you need to repair multiple sections, repeat the steps for each one. Remember where each piece belongs—I placed mine on labeled plastic trays.
Allow the clay pieces to dry completely. This may take a day or more—check the packaging for drying times.
Repairing the Melted Ramp
Clean the ramp again and test-fit each clay piece to ensure a perfect match.
Mark both the clay and the ramp so you know exactly how they align.
Examine the melted areas and mark the clay where adjustments are needed to restore the ramp’s original shape.
Take fresh clay and fill in the marked areas. Use plenty of water, your hands, and any tools necessary to make the repairs smooth and accurate.
Be precise—measure carefully, consult reference photos, and do whatever it takes to recreate the original shape.
Repeat this process for each clay piece you’ve made.
Let the adjusted clay parts dry again (at least one day).
Fit each piece back into the ramp. If they’re not perfect, repeat the previous steps, adding or removing small amounts of clay until the shape is correct.

Final Steps
Now it’s time to restore the ramp to its original shape.
Ensure the clay molds are clean and smooth.
Clean the ramp again—double-check that both the ramp and clay are spotless. Any dirt left behind will burn into the plastic and become permanent.
Use a smooth cloth (an old T-shirt works well) to apply pressure to the plastic once it’s heated.
There are two methods for heating and fitting the clay molds:
- Carefully heat both the inside and outside of the ramp using your torch, as if you were flame polishing. Frequently check with your hand to see if the plastic is warm enough. Don’t overheat it—we don’t want burns or bubbles. Remember, the heat lingers in the plastic.
- Once the ramp is warm, use the cloth to press the clay mold into place. Pay close attention and apply pressure where needed. The plastic must conform to the clay and stay that way. If necessary, blow on the plastic to cool it down. The key is to take your time and avoid applying too much pressure.
Alternatively, you can place the clay mold inside the ramp and only heat the plastic from the outside. Again, use short bursts of heat until the plastic softens, then press the clay into place.
For both methods, it’s crucial to introduce heat gradually. Heating too quickly can cause burns or air bubbles.
After completing one section, allow the ramp to cool for at least 15 minutes before moving on to the next.
Once all sections are done, clean the ramp thoroughly and flame polish again if needed.
This is how I repaired my deformed plastic ramp. There may be other techniques out there—I’d love to hear about them!
Below is the Whirlwind ramp. The game plays beautifully again!
If you're looking for pinball parts, then check out Pinballshop.nl (affiliate link).